Directory v2.0
A full-stack Next.js, Shadcn, and Supabase directory template features a 3-stage scraping and AI enrichment pipeline. Build your seo optimized backlink directory and ad revenue stream.
Bulk Scrape Enrichment Pipeline
Supabase JWT (new) Auth
AI SDK v5 User Submission
Admin Dashboard
SEO Optimized
Performance Optimized
Next.js
15.5.0Tailwind CSS
4.0Claude AI
v5Supabase
latest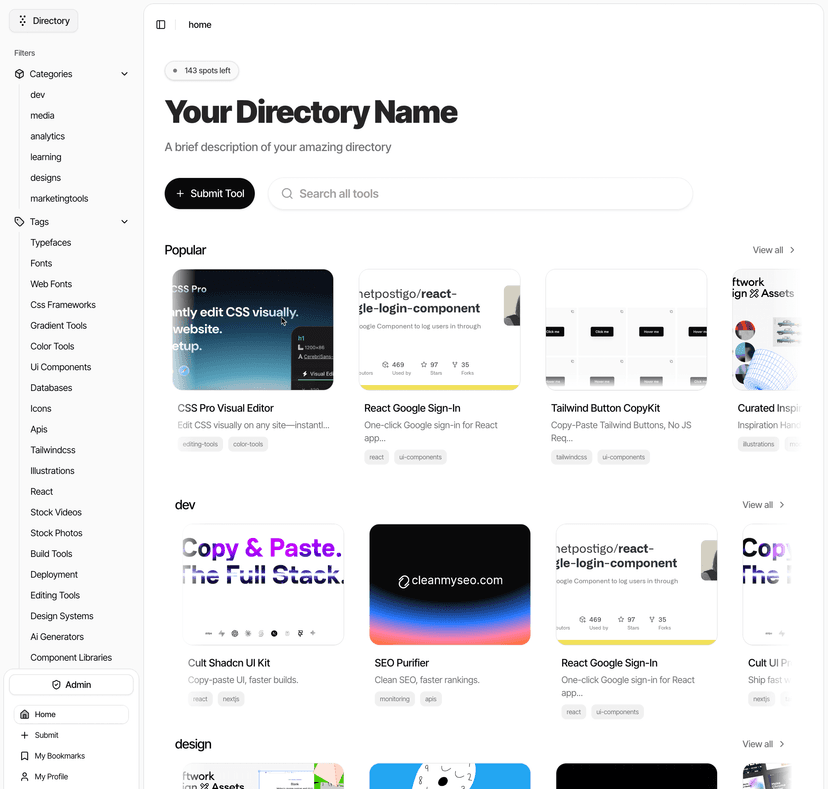
Onboarding Video
Key Features
Bulk Scrape Enrichment Pipeline
Crawl, enrich and seed directory data. In minutes you can have a fully seeded database with 100s of products.
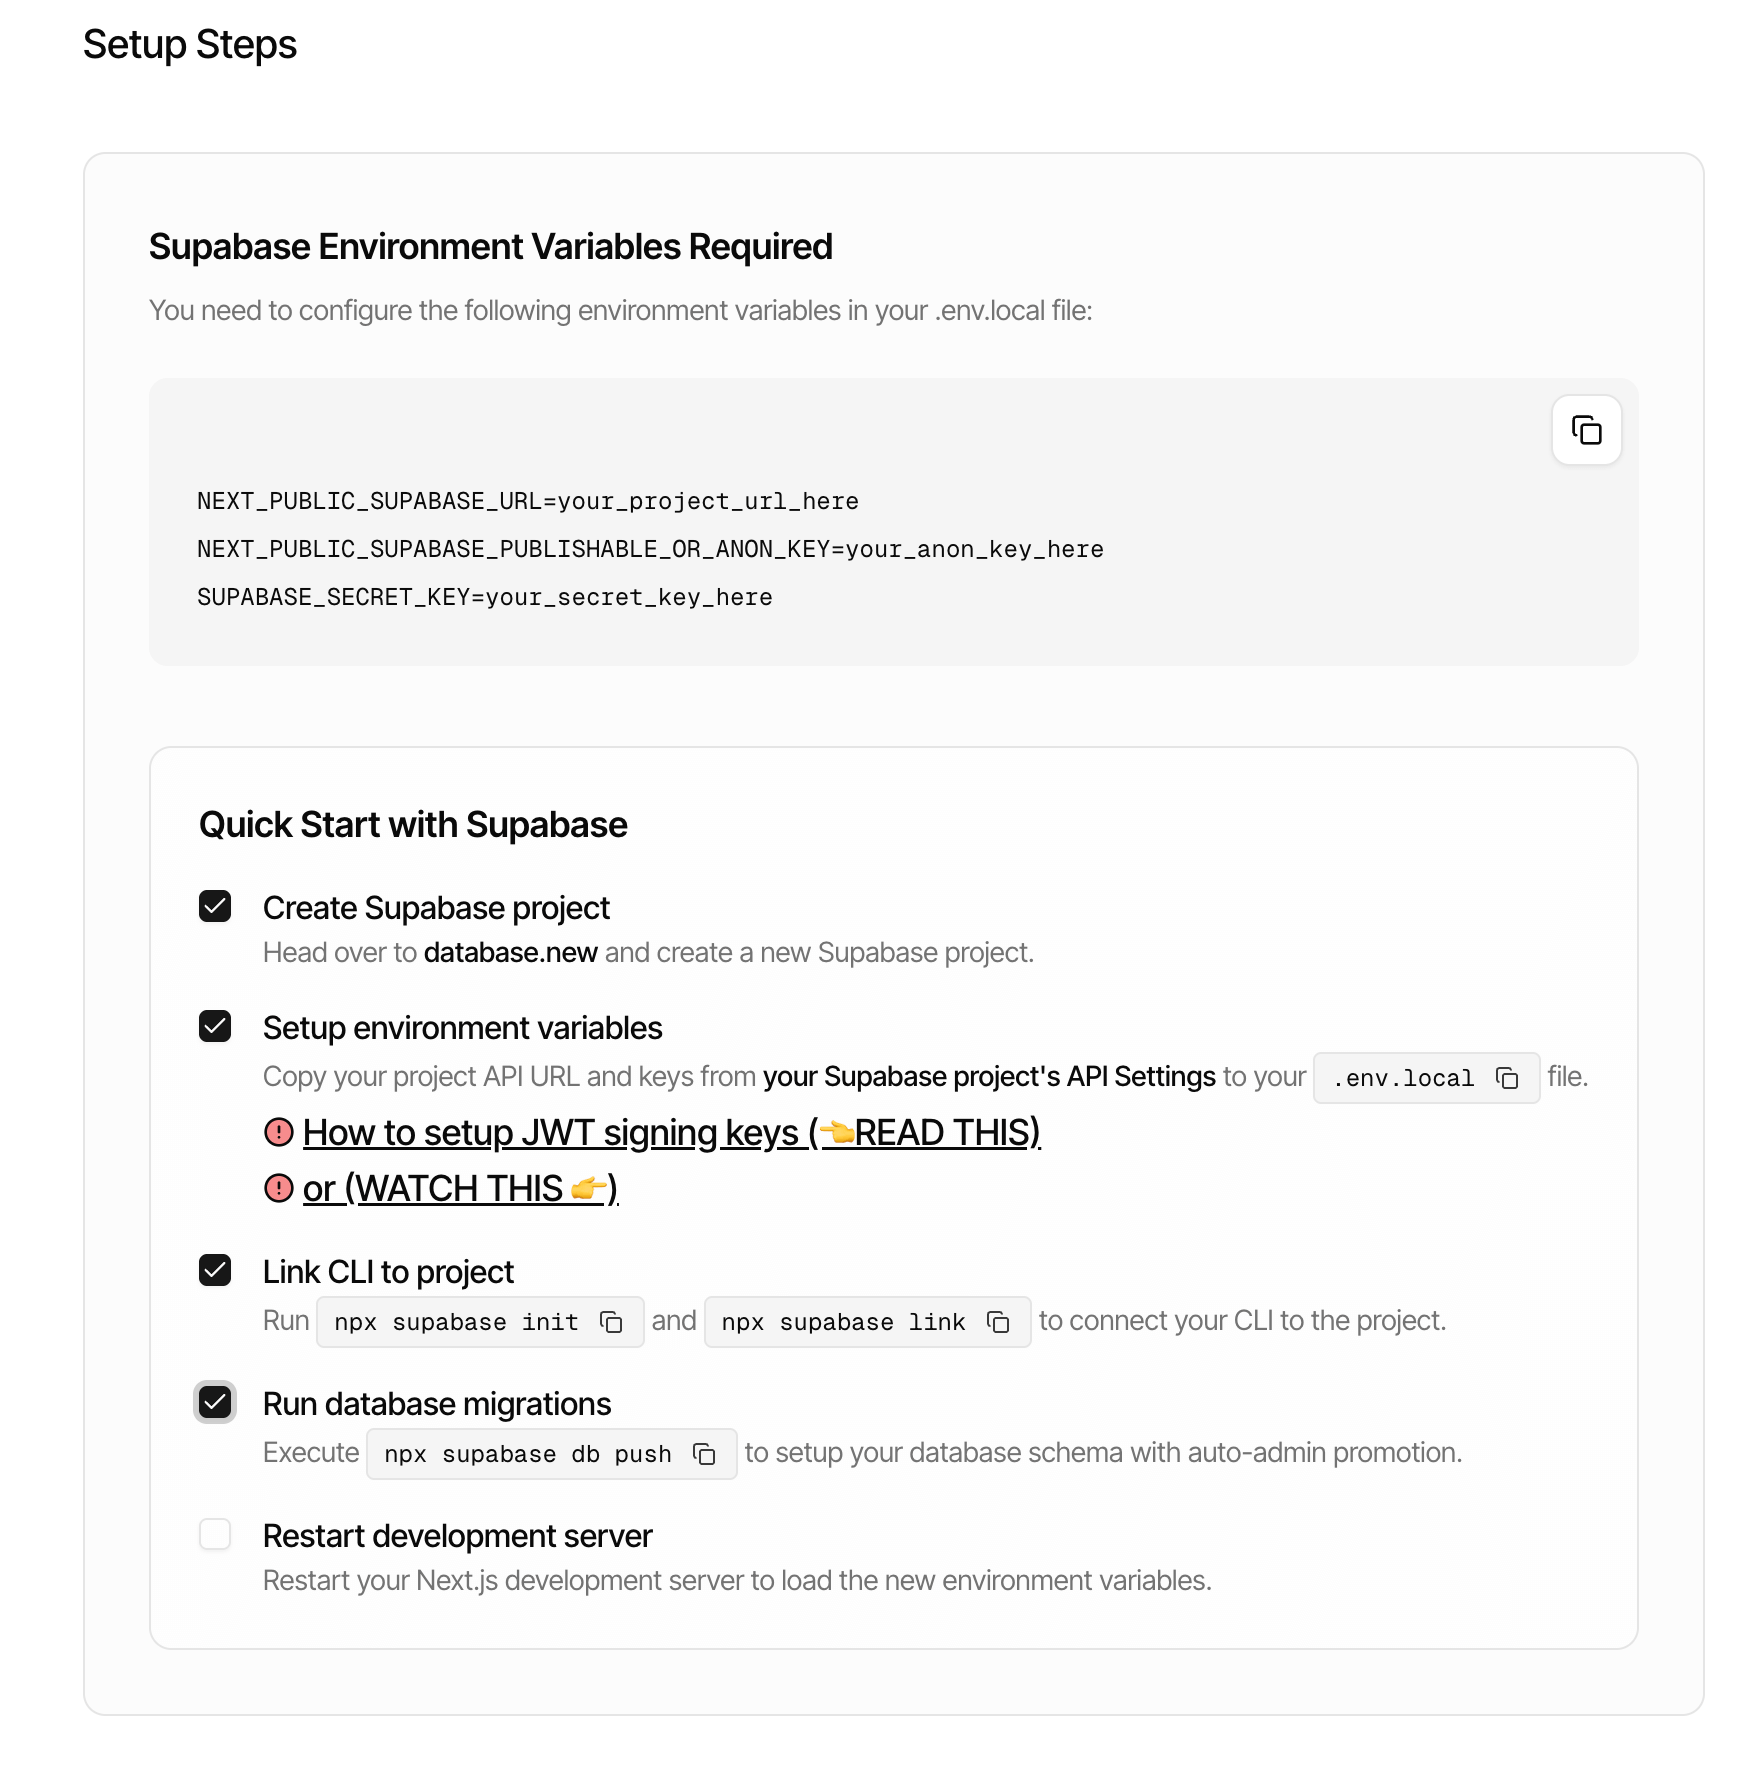
Supabase JWT (new) Auth
Leverage Supabase's built-in JWT auth system for secure user management, Way more performant that previous cookie based auth.
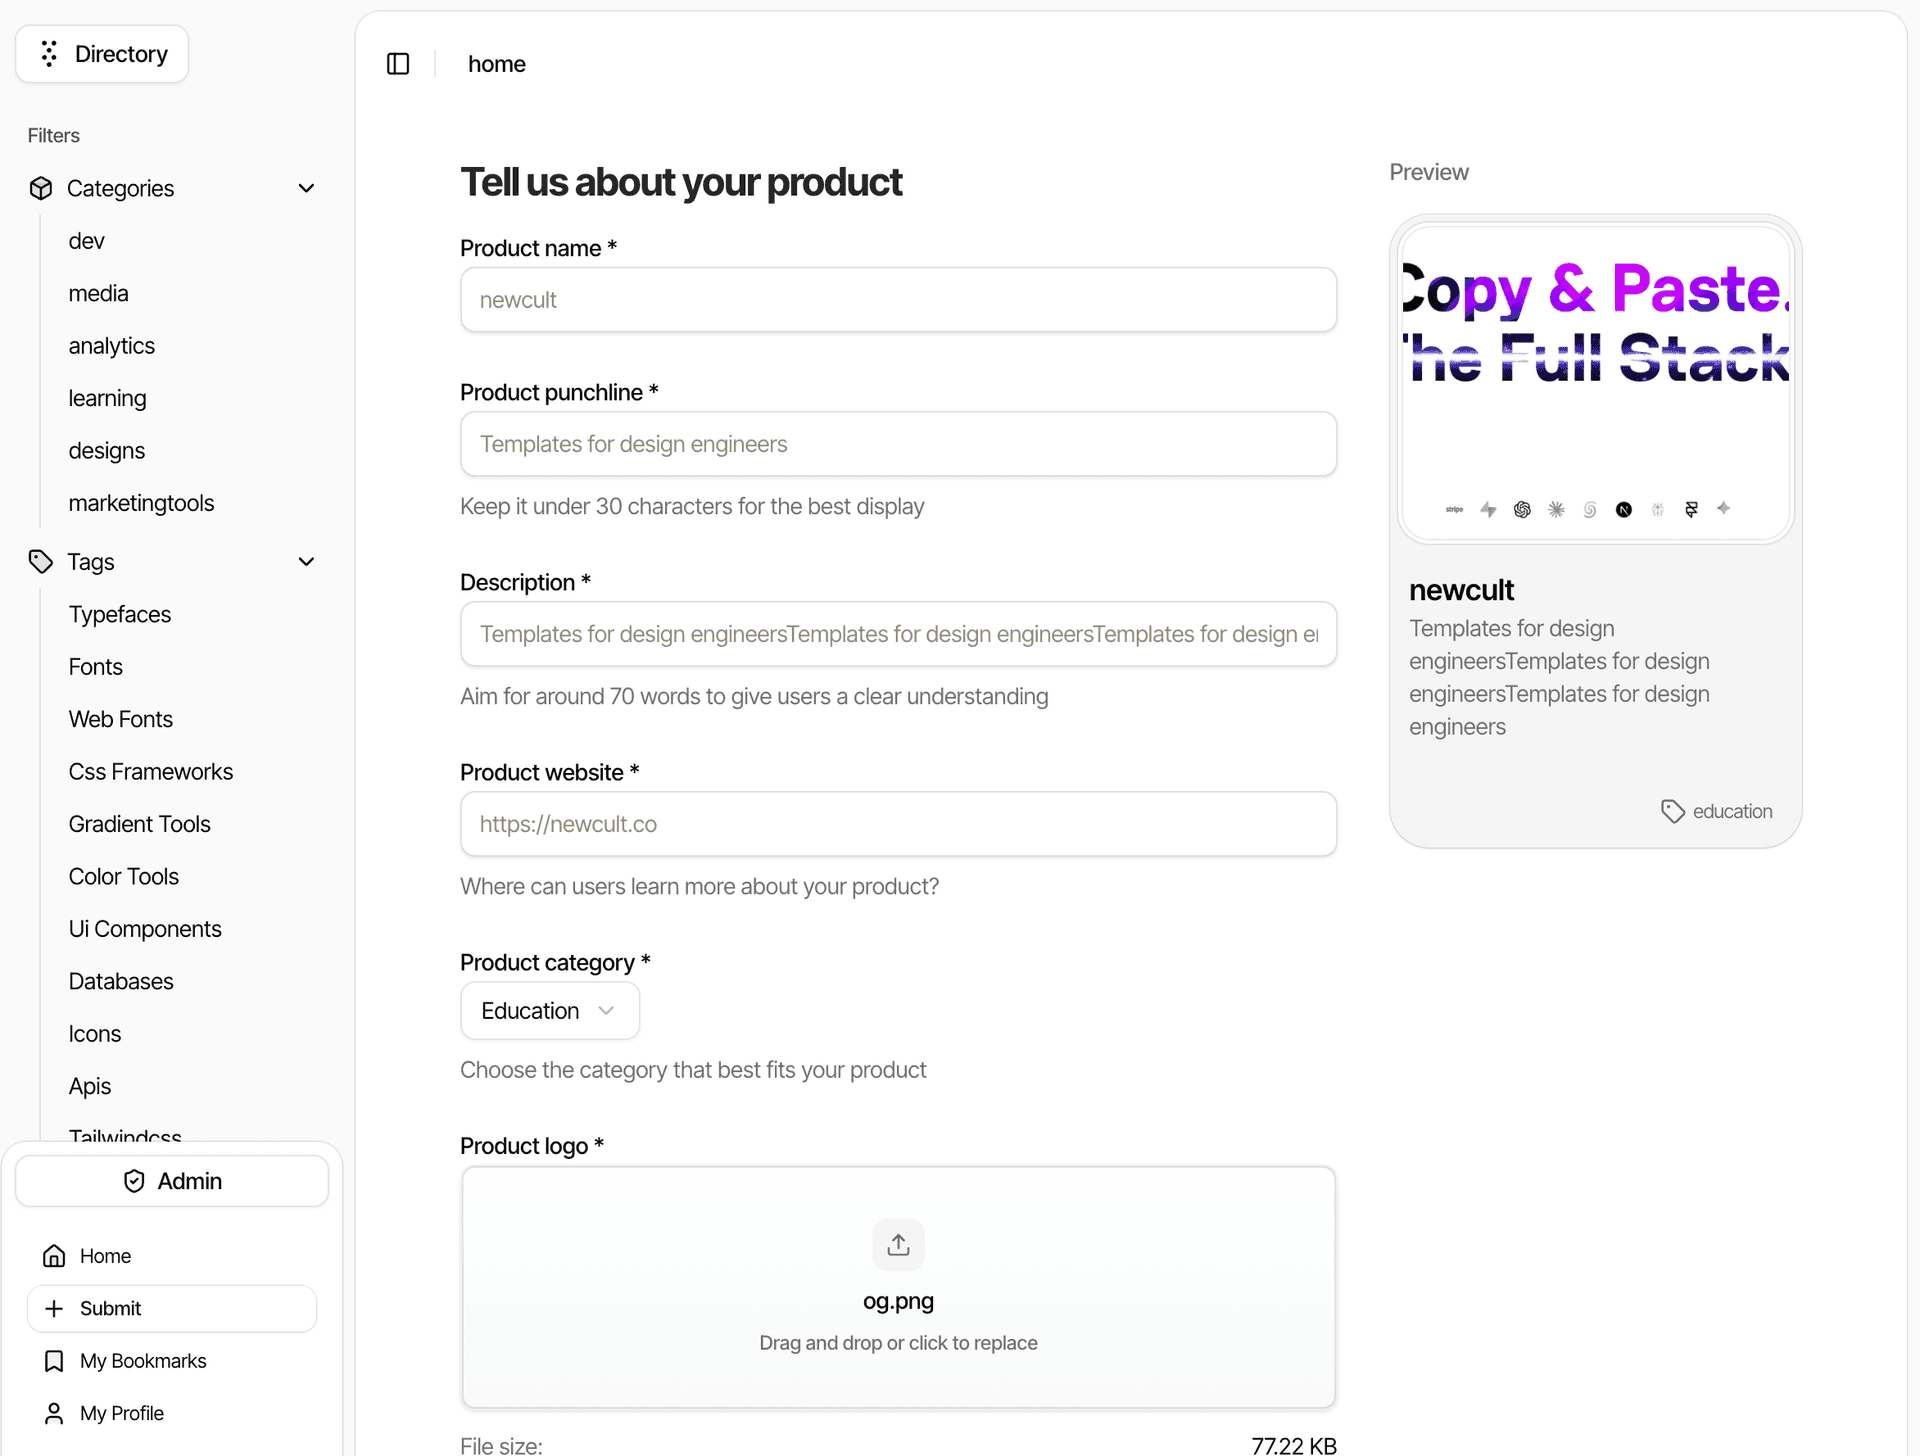
AI SDK v5 User Submission
Every time a new user submits a directory item we automatically generate content summarization, categorization, and metadata generation.
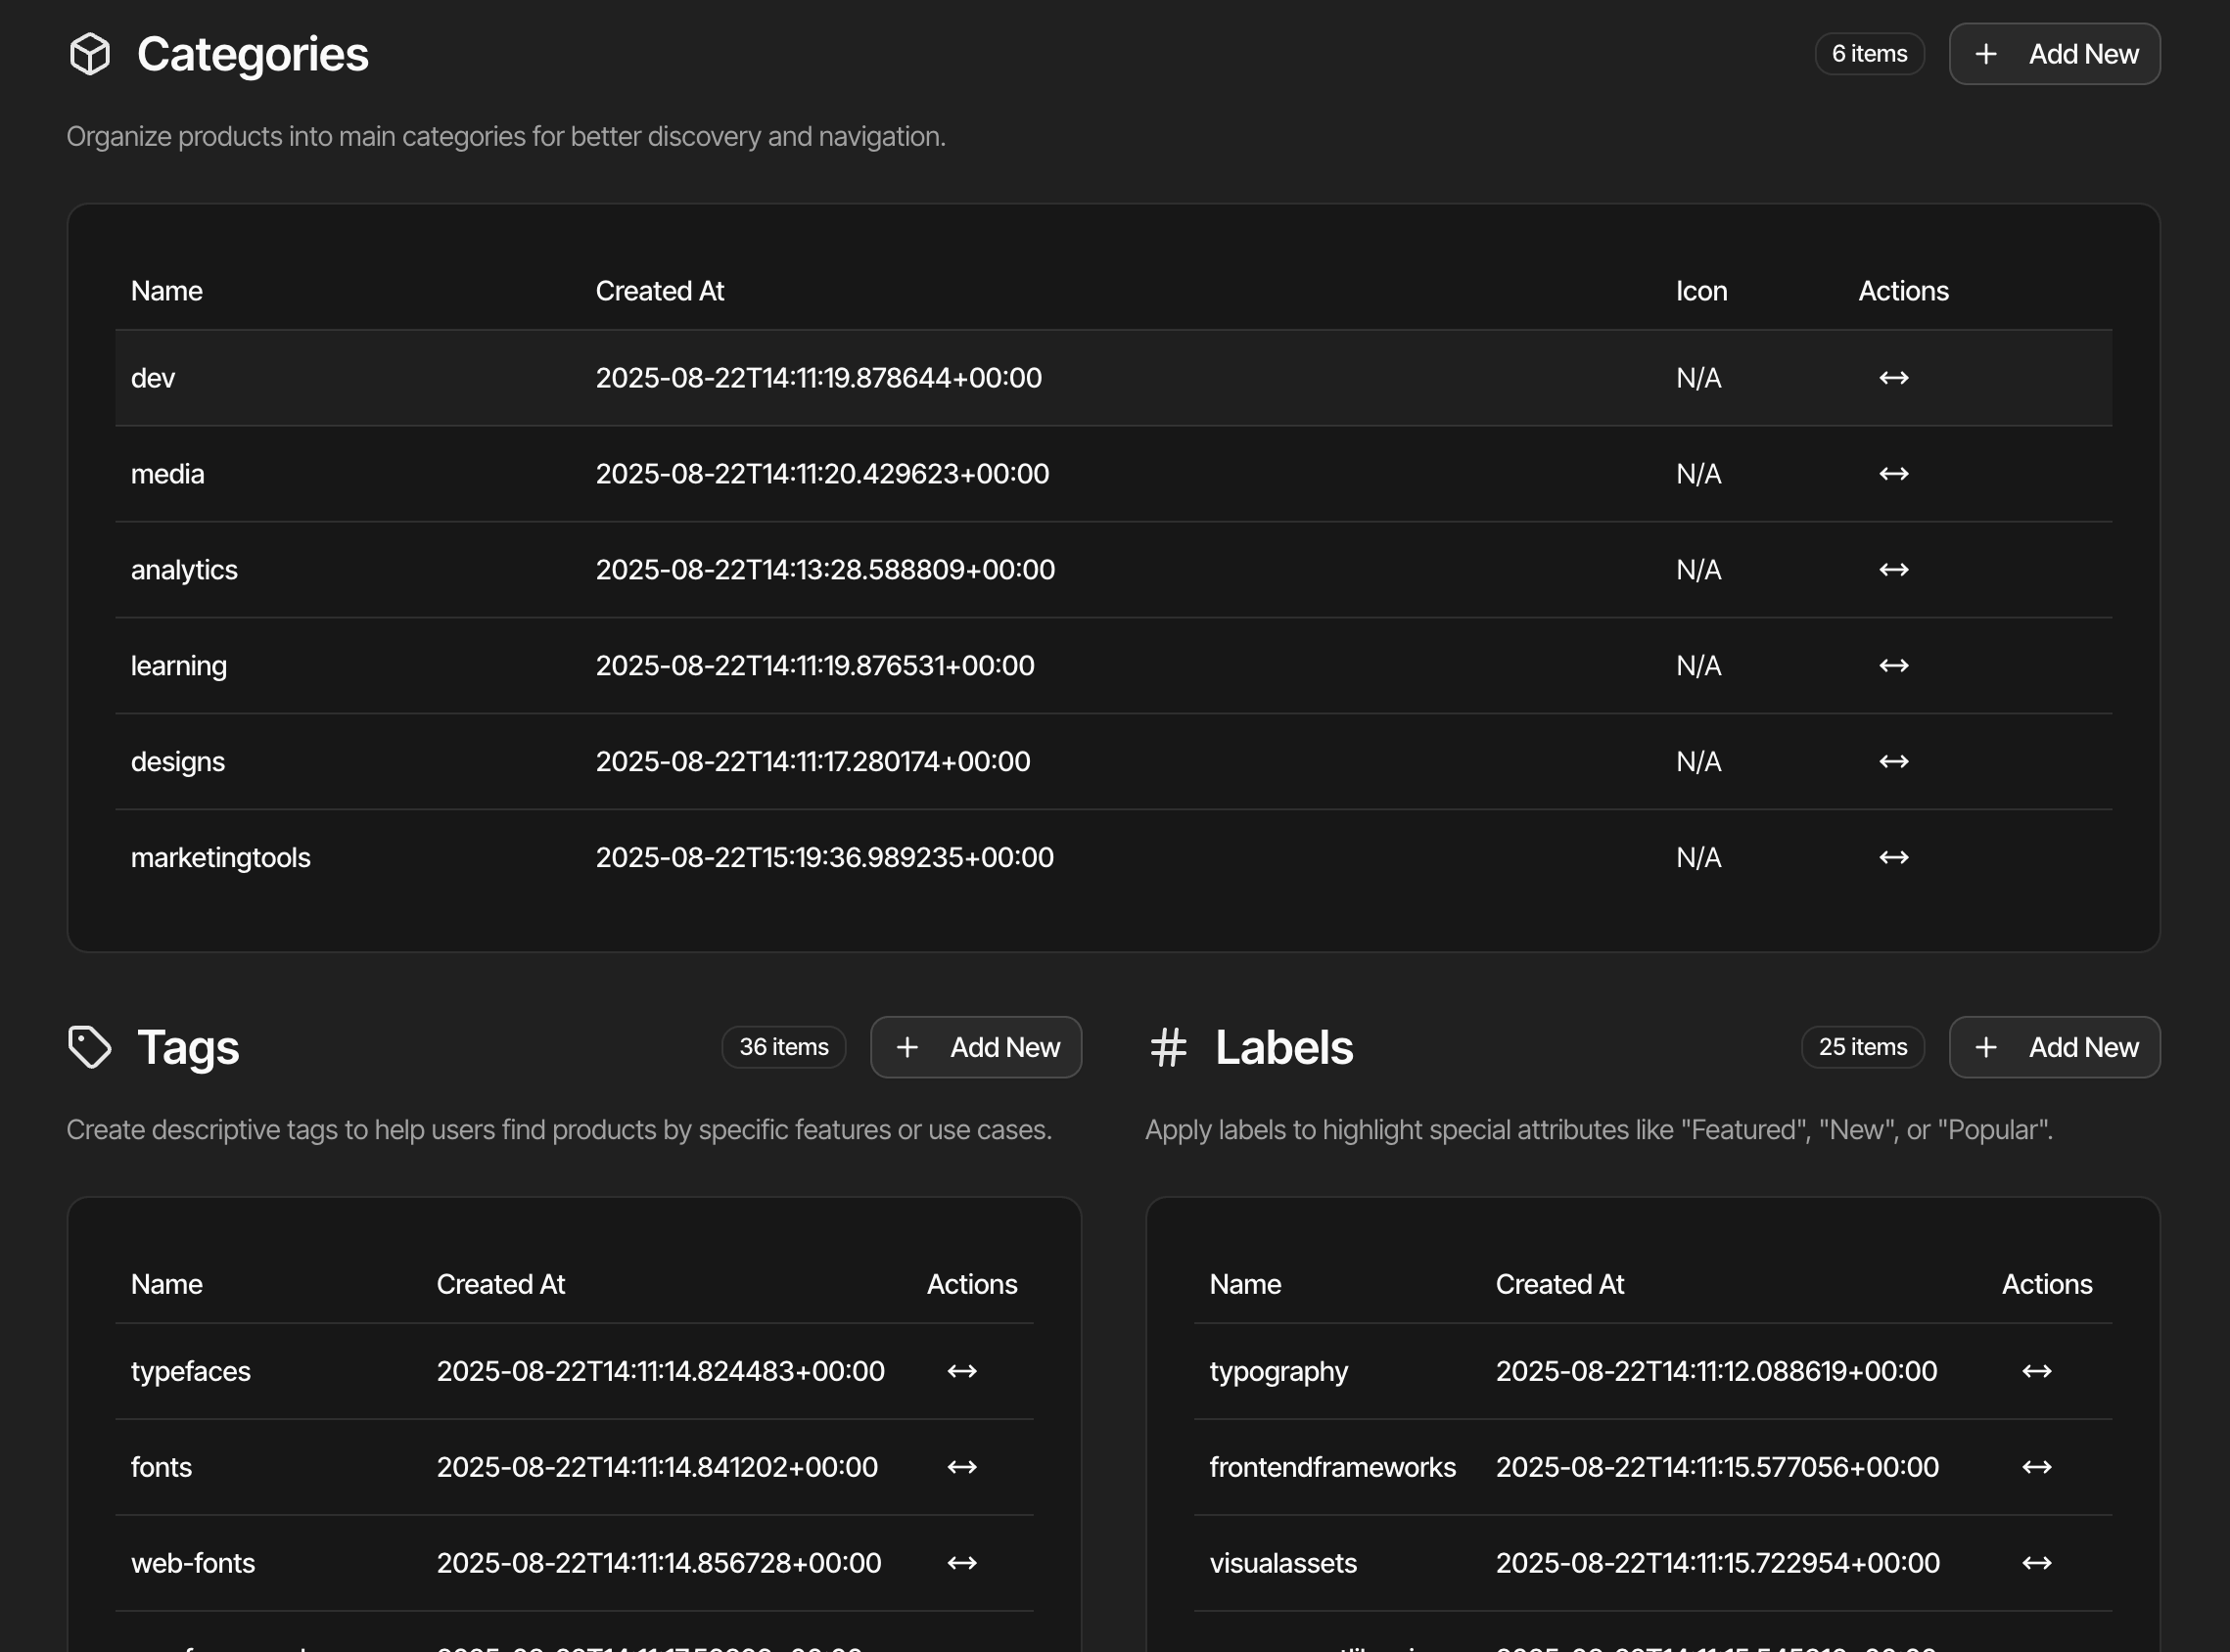
Admin Dashboard
Admin dashboard for approving and managing submissions, users, labels tags and more.
SEO Optimized
Every page is SEO optimized with structured data and meta tags.
Performance Optimized
SSG + ISR for fast page loads and SEO.
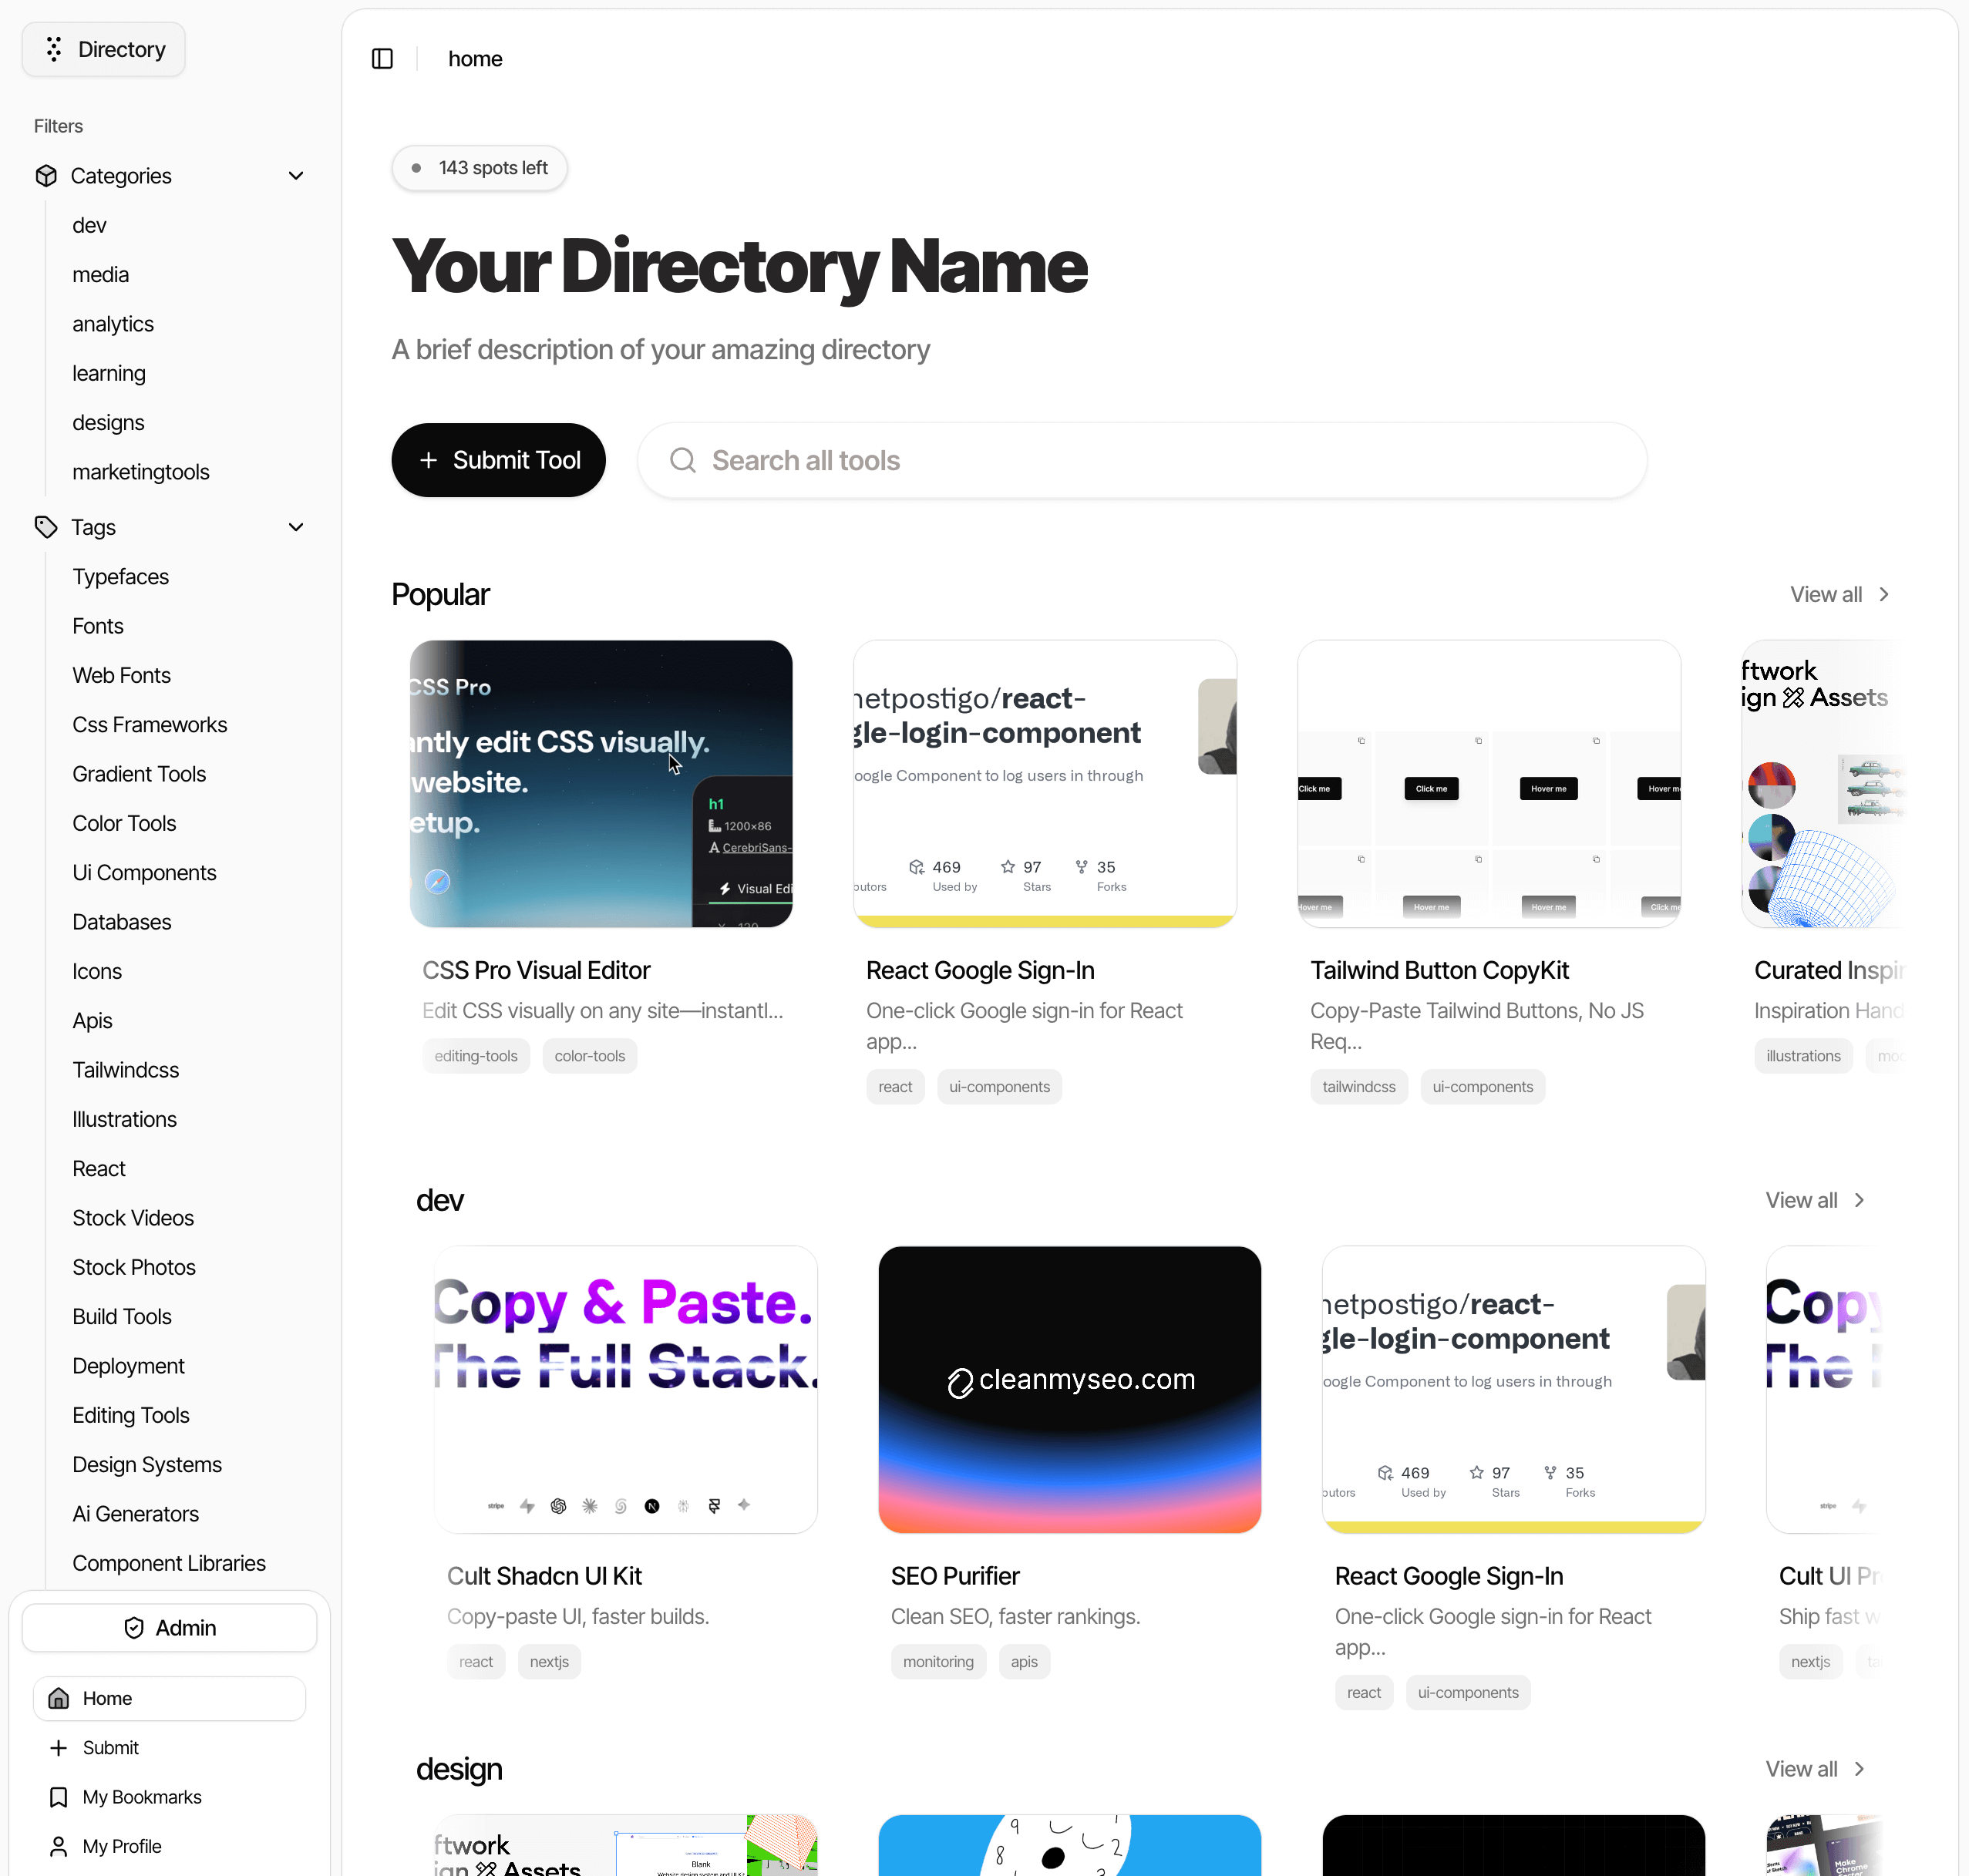
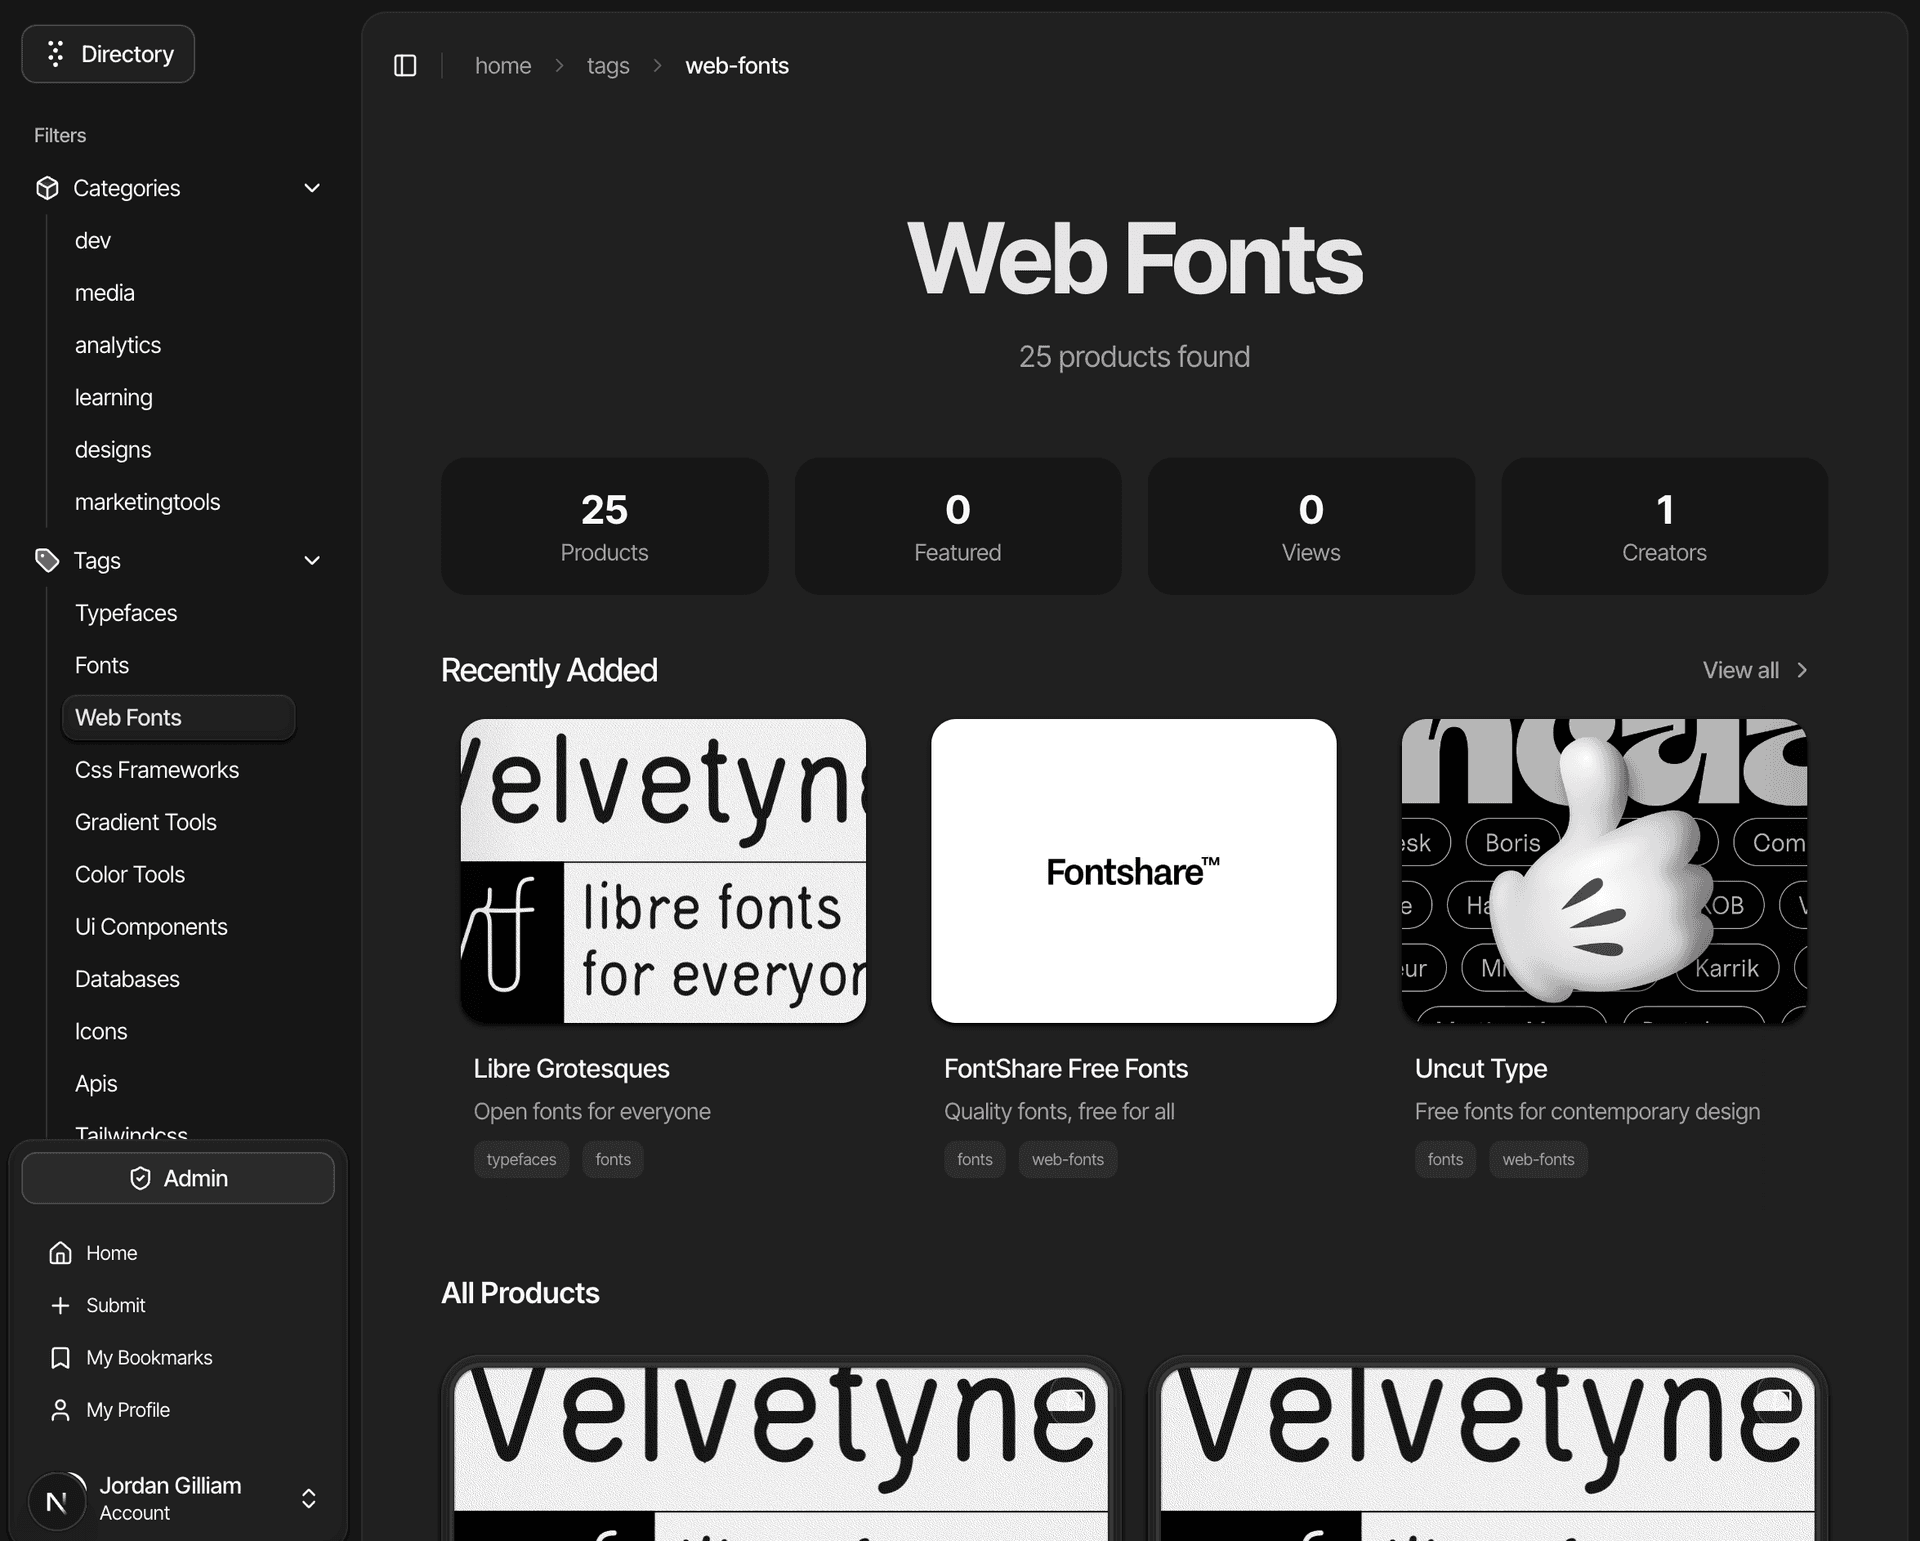
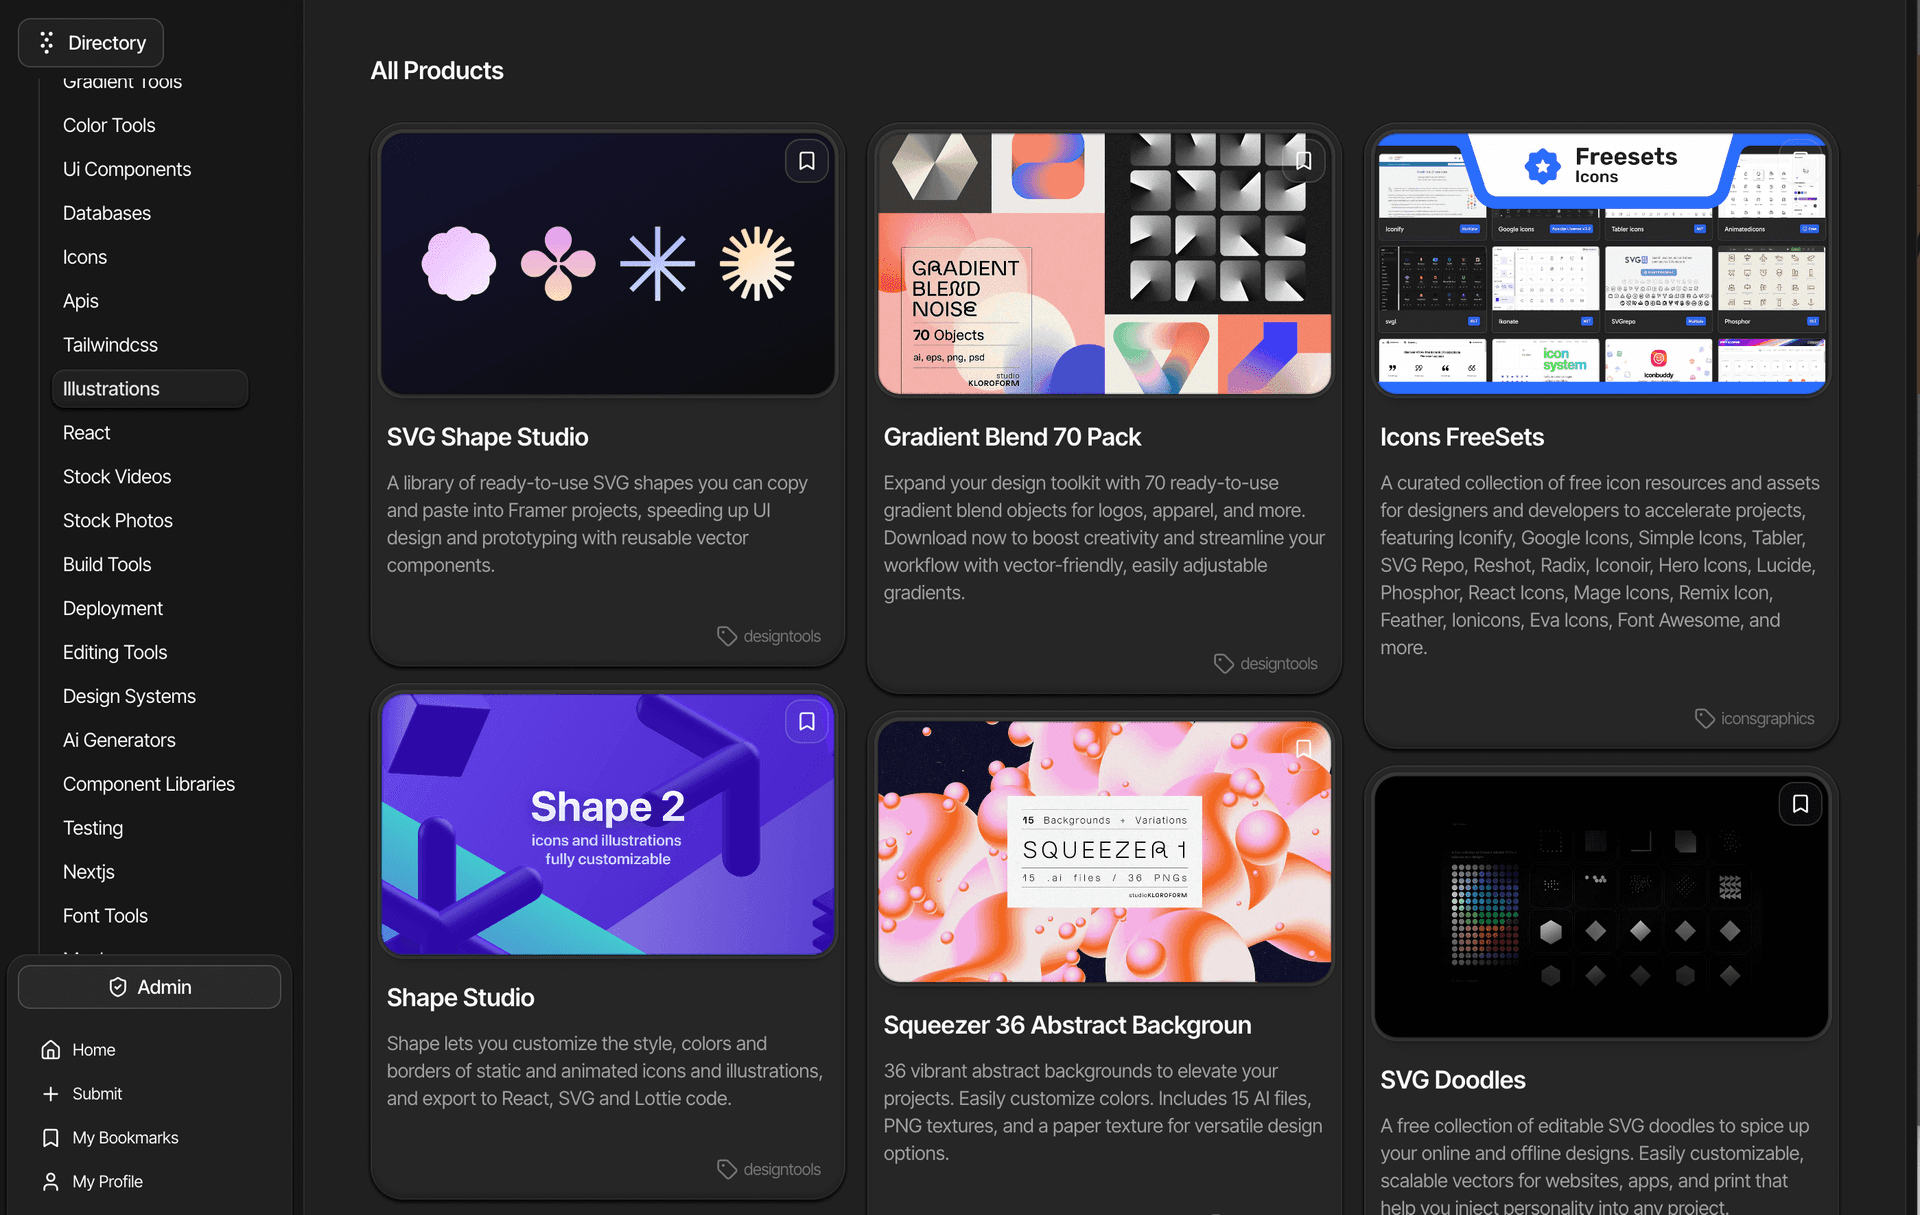
App Screenshots