Cult Pro MCP Guide
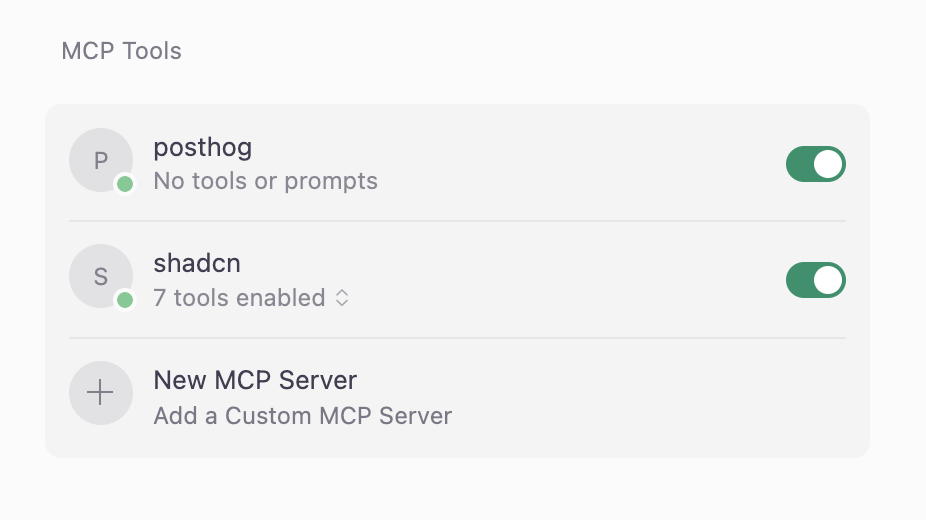
shadcn MCP
Use the shadcn MCP server to browse, search, and install components from registries. Connect your AI assistant to the shadcn/ui ecosystem with Model Context Protocol integration.
Watch this tutorial to learn how to set up MCP integration with Cult UI Pro
1. Configure MCP Client
Select your MCP client and follow the instructions to configure the shadcn MCP server. If you'd like to do it manually, see the Configuration section below.
Run the following command in your project:
npx shadcn@latest mcp init --client cursorOpen Cursor Settings and Enable the MCP server for shadcn.
Then try these prompts:
Show me all available components in the shadcn registry using shadcn mcp